
Originally posted by PowerDemon
View Post
-
If it isn’t the servo mount what is the piece of cf plate that you curved with your band saw?Leave a comment:
-
That was just a cool looking cnc prop i had for pics. I took pics of a rivercat with it on there too. I think it's the pic that makes it look curved, it's as straight as my 90 degree slide rule. I'll be getting back to it in the next day or so. Gotta put battery trays in and make the esc cover. I don't have much left.Originally posted by PowerDemon View PostLeave a comment:
-
Looks great! Why the prop choice? I love how you curved the servo mount.Leave a comment:
-
Leave a comment:
-
still confused on the strut but i will give it a go lol
thanks again travis looks awesome!Leave a comment:
-
Then I took a swedging tool to it at the end to help hold it. Surprising how easy it was to swedge. It was blue loctite in place also.
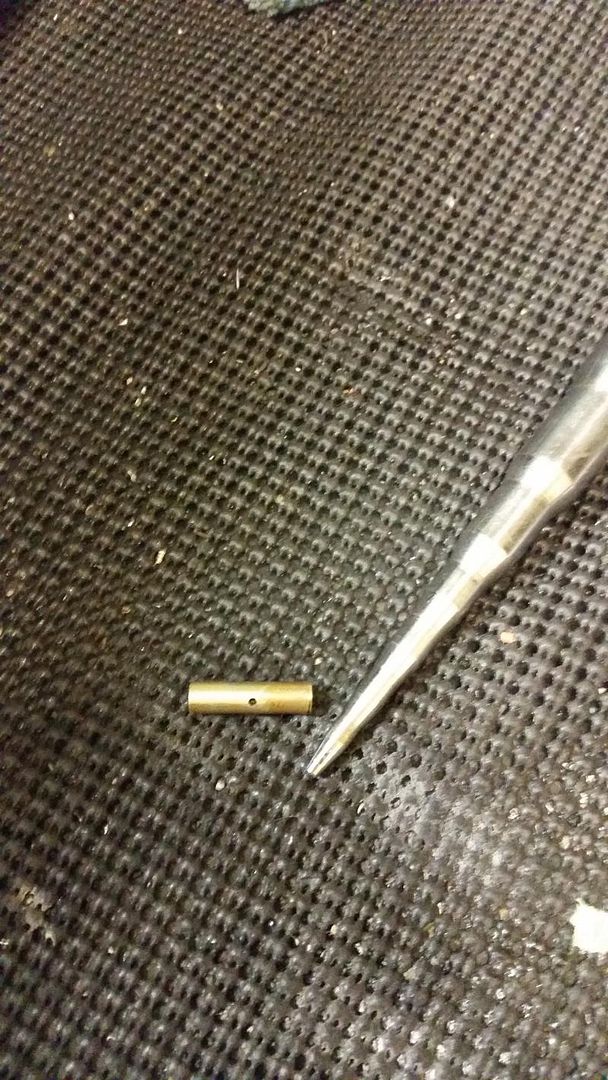
Now I drilled a hole right in the middle. There a grease fitting and I still want to use it so the hole will let grease to the shaft. Hole shown in above pic.
Then I made another bushing for the front. The stuffing tube is naturally too small just to go into the strut, so I used two sizes of tubing to adapt. Same method I soldered them together. I tapered the end of it. Then after confirming the length was correct, I blue loctite it in. The first attempt it was too long. The loctite grabbed it withing seconds and it would not come out. I had to heat it to get it out so don't worry, loctite will hold!
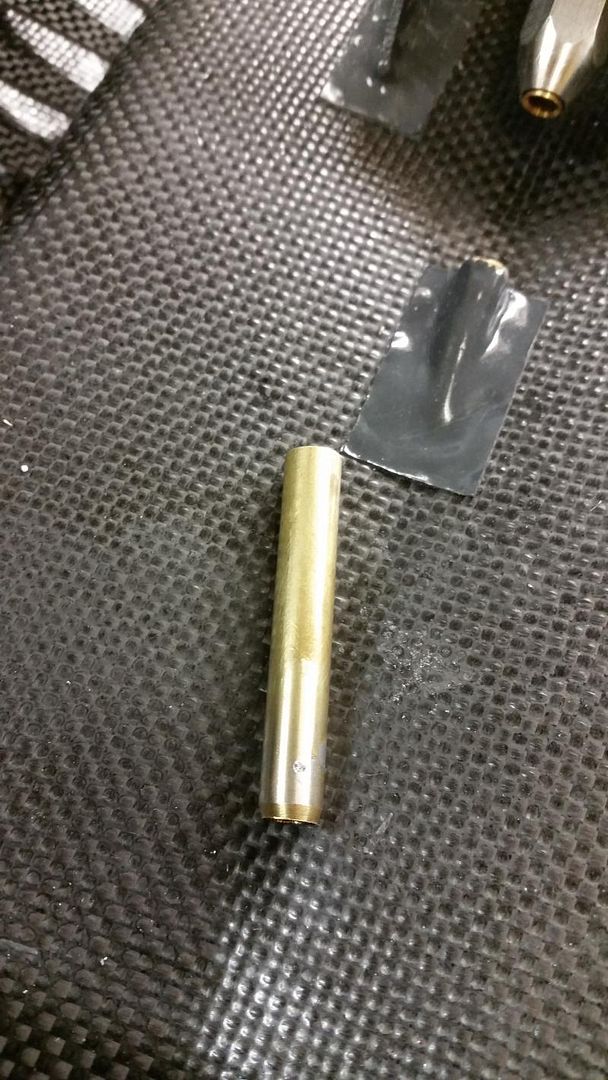
Then it's in the strut. I tapered the front of the strut because I felt like it
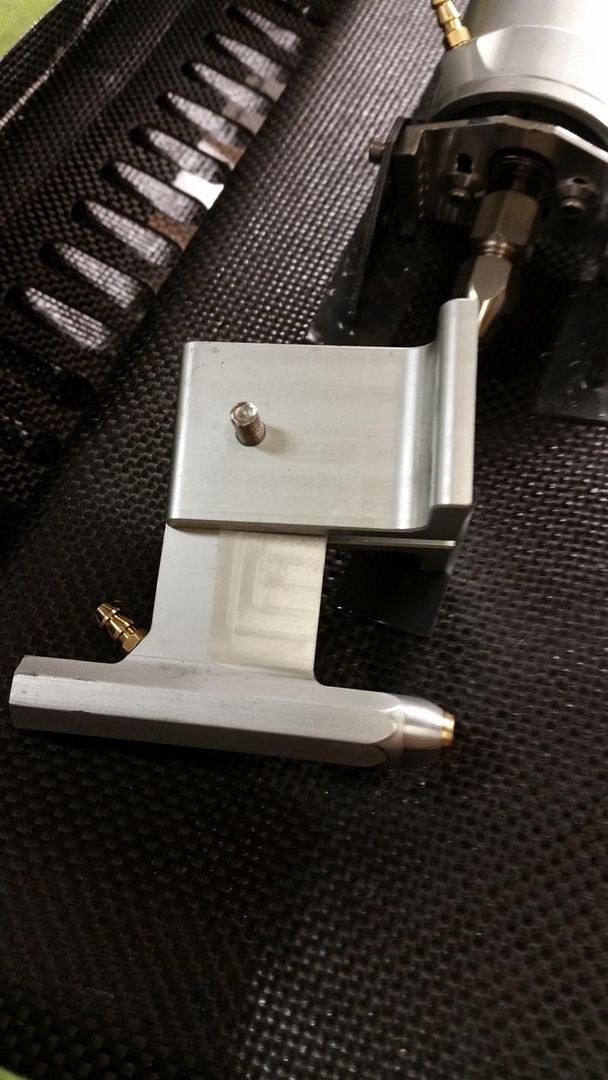
Leave a comment:
-
Now that I have a little time I'll post what I did to adapt the .250 flex strut.
I cut two 1" prices of brass. One fits snug in the bushing in the strut, the other fits snug into the first brass piece.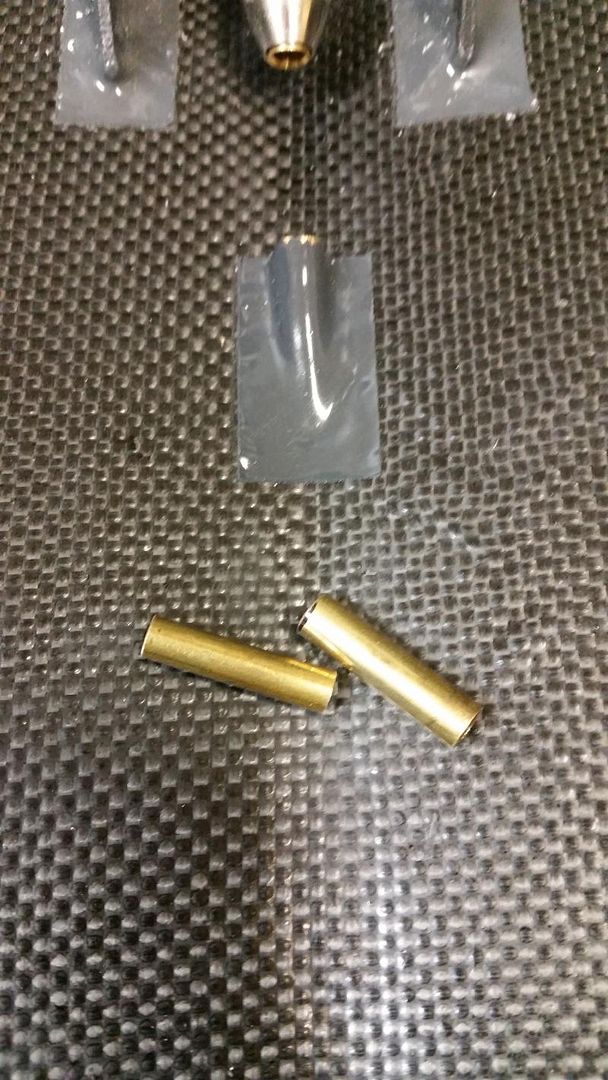
Then I drilled some holes in the bigger piece to solder them together. I used a little propane torch.
http://i218.photobucket.com/albums/cc243/ltzguy/20141206_151920.jpg[/IMG]"] [/URL]
Soldered and sanded smooth on the belt sander

Leave a comment:
-
Sorry about your loss travis, hope things get better for you and yours soon.
thanks for what you are doing on this build. helps alot.Leave a comment:
-
-
Leave a comment:


Leave a comment: