-
So why the angle pieces on the heels of sponsons? I thought you wanted that area to be flat and 90*? Or you building this be scale as possible to 1:1? -
Awesome, those old H1 unlimited piston powered hydro's had a sound like no other. Nothing like the big sound of piston powered H1's on H2O. Its a sound you can not only hear but FEEL trough your whole body. Greatest sounds I've ever felt, when those old boats flew by at the old marine stadium down in Miami Fla. I miss that sound, its to bad we as model boaters cant capture that part of the piston powered H1's, the sounds were as great as the racing. AWESOME!Leave a comment:
-
A few more bits'n pieces done, in between sleeps.
Firstly, the angled pieces were fitted to the heels of the sponsons. It doesn't leave much area to fit the bracket for the turn fin. But the engineers, down in the 'Wet Track Racing' workshops, will make it work.
Next we tackled the dropped deck rear extension & the transom side pods.
I tried to make it look like the original, but I think the pods should have been longer. But that was how the kit was. I was going to extend them, but got lazy & left them short.
Then it was on to the sponson skins.
The anti trip skins have been fitted first. These will be trimmed & sanded to shape & then the ride pad & the side skin will be added.
All these pieces were cut out of 1/16" ply & pre bent to shape, using a 4" round steel pole in my garage, that is holding up the floor of my house. By gently bending the ply around the pole while moving the piece from side to side the bend just magically appears. No heat. No water. Just mind power & a delicate touch.
It makes it so easy to glue the pieces on, as there is no pressure to be fought against with tape , clamps or weights.
I simply hold it in place & sort of stitch glue it in place with drops of ca glue, working my way along from the rear of the skin to the nose.
When that is done I then wick a bead of ca along all the joints.
Here are the compulsory visuals.
The angled pieces behind the heels of the sponsons.
001.jpg
The dropped deck extension & the sheeting on the side pods.
The actual rear sponsons will be framed up & sheeted later.
004.jpg
The pre bent skins.
005.jpg
The bent skins just sitting loosely in place.
007.jpg
All glued on ready for final trimming & sanding.
009.jpgLeave a comment:
-
If only she could do it more often, Eric.
The floor pan & anti trip skins have been added.There is a bit of a dropped tub at the front so the floor pan was simply cut at each side of the tub. Then, where the side pieces needed to bend I scored the bend line on the inside of the hull with a knife, & gently creased the wood.
I've also added some balsa blocks to the nose pieces of the sponsons, & along the chine pieces. This is all just for extra surface area for the glue at the edges of the skins when they are fitted.
I will sand them all to shape as I sand & shape the stringers.
Anti trip skins & the floor pan.
002.jpg
Wooden blocks on the nose & chines.
001.jpgLeave a comment:
-
This should be very cool build.
Watch the race video, so amazing that piston power left them turbines rooster tail length almost the whole time.Leave a comment:
-
Thanks for that.
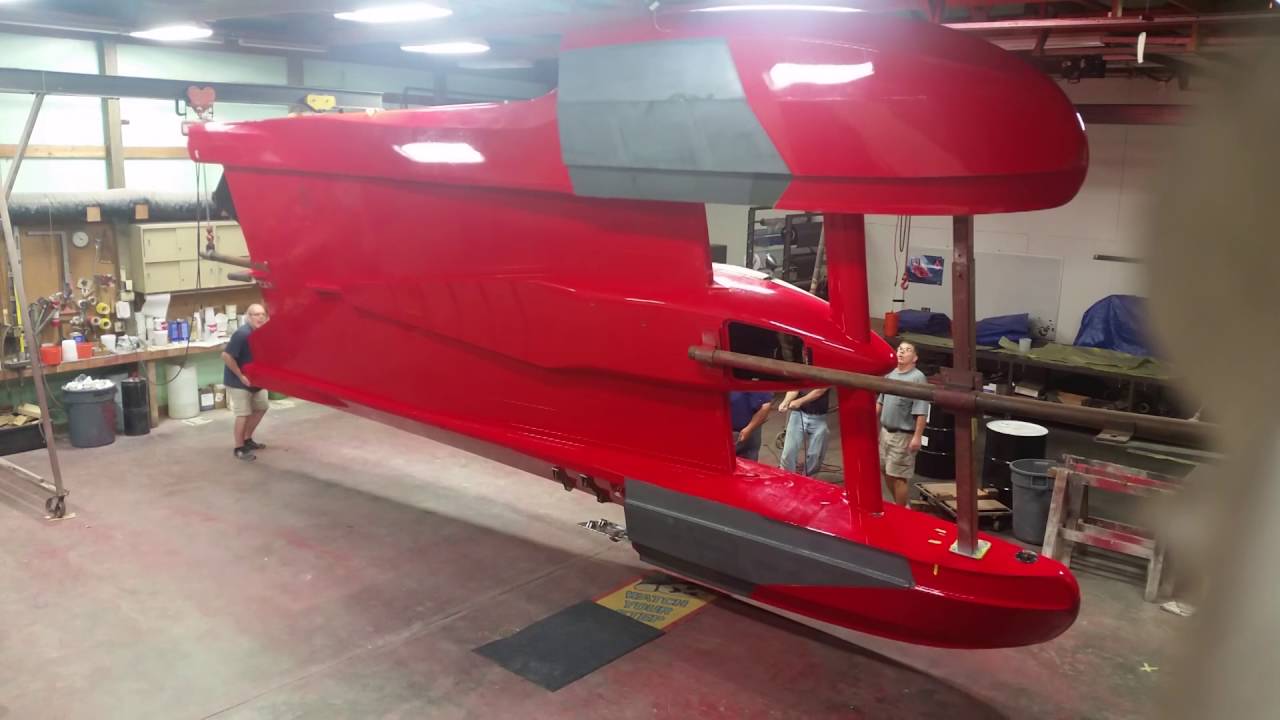
I came across this little gem which gives good views of the ride pads & the rear sponsons. Cool.
Leave a comment:
-
When attempting to fit the afterplane sideskins I realised that I had the transom installed the wrong way around, because one side is narrower than the other, as are the tips of the transom.
There is also a drop section of the deck on one side of the transom.
So I went hunting for pics of the full size boat for some visuals.
Yes I had the drop section on the wrong side. It's on the left of the full size boat which turns left. The model turns right so it needs to be on the right.
So, out with the scalpel for some surgery/butchery.
I managed to break the tip off one side of the transom when cutting away the 3/16" stringers. So I had to add a packer & some strengtheners to line it up properly.
I added the side skins during the same procedure.
Transom removed. Man that CA glue is tuff stuff.
001.jpg
Refitted correctly.
004.jpg
Afterplans sideskins added.
006.jpg
The packer & strengthener.
007.jpg
The drop deck on the left side of the transom
21034552_1835458619817557_5545622702317809673_n.jpgLeave a comment:
-
I wasn't going to start building this until I had finished the other three boats under construction. But after a phone conversation with fellow club member Trev in the afternoon, I was convinced to get started on it yesterday evening. Thanks Trev.
A couple more hours this morning & she's taking shape.
Speaking of shapes, I'm surprised how one sponson is so much bigger than the other & a completely different shape. I've only been used to symmetry so far in my boating life.
So, I'll do a build thread on it even though a lot of things will just be repetitious of things in the other hydro build threads I've done here.
It's just such a beautiful boat & can still beat the turbine powered boats now & then.
So, just to confirm the building method for any new members interested, but haven't seen one of these wooden hulls being built. We basically dry fit the frames into the main stringers & wick some Medium CA glue along all the joints. Later on when the ply bottoms & sides are all attached, the whole inside is given a coat of Epoxy fiberglass resin, which strengthens all the joints & seals the wood.
The first thing I like to do is glue the bulkheads to the main stringers. Then add the birch sticks along the bottoms of the main stringers.
Then each pair of main stingers & bulkheads are glued together.
The next step is to fit the transom & the main bulkhead which is the rear of the sponsons.
After that a piece of flat wood the width of the tunnel is fitted to the building board high enough to keep the bottom of the sponsons off the main building board.
A few weights to keep the hull flat & a square to keep the boat true.
Now the rest of the sticks can be fitted in all the notches, & glued.
The main chine pieces are then glued into position. With this kit they are made up of multiple laminated pieces which need to be glued together first.
When the CA is cured, the boat is turned over & then all the sponson bottom chine pieces can be fitted & glued into place.
That's where I'm at so far.
Here are the visuals. This is gonna be fun
Bulkheads in the main stringers.
001.jpg
The basic assembly.
003.jpg
Totally different shape & size of sponsons.
005.jpg
The underside of the sponsons.
006.jpgLeave a comment:
-
Thanks for that Pete.
I've ordered the cowling from R/C Boat company, & according to the measurements given & the width of the tub on the kit, it will all easily fit.
I've also ordered this turbo Allison motor from Jim at scale3dparts. He does some beautiful work with a printer.
How could you not love this.
 Last edited by 785boats; 01-24-2018, 08:43 PM.
Leave a comment:
-
Looking at the pics, the hull/canopy look very similar to the Miss Elam but without the turbine cowl. The guys who run 1/8 FE here have flat taped covers over the hatch openings and the cowls just clip on top similar to nitro versions. They run 10S setups so I am guessing you will be able to fit everything in there. I like the turbo'd V12 look!Leave a comment:
-
I couldn't help myself & ordered the ML Boatworks framing kit.
It arrived today.
Love it.Leave a comment:


Leave a comment: