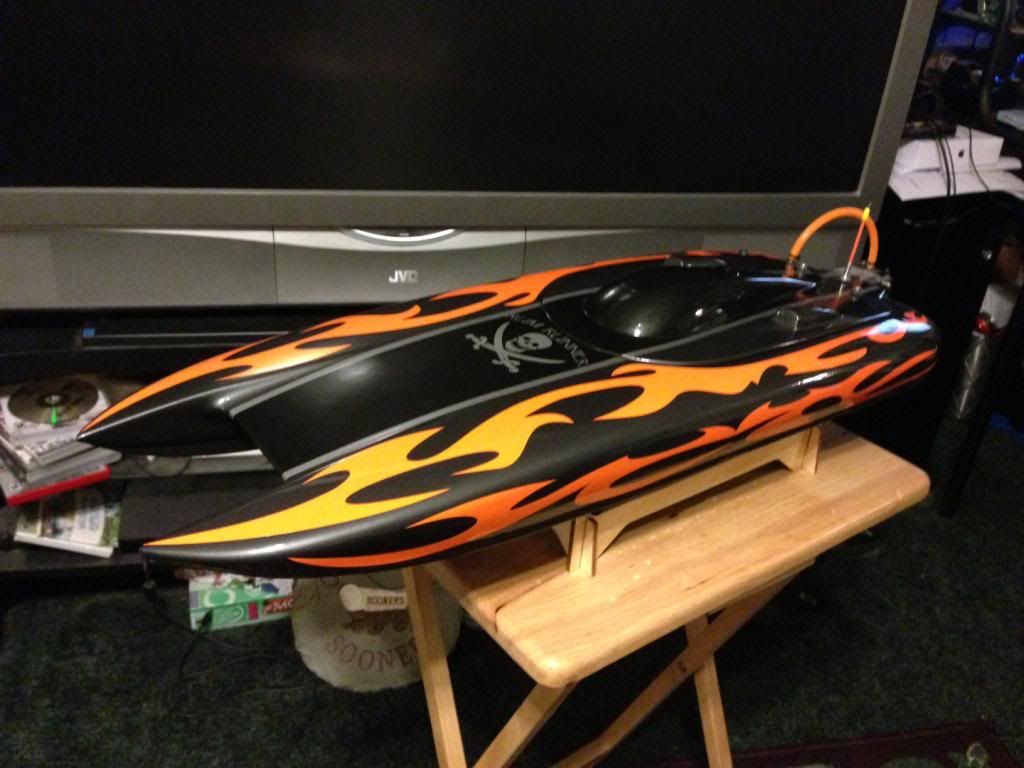
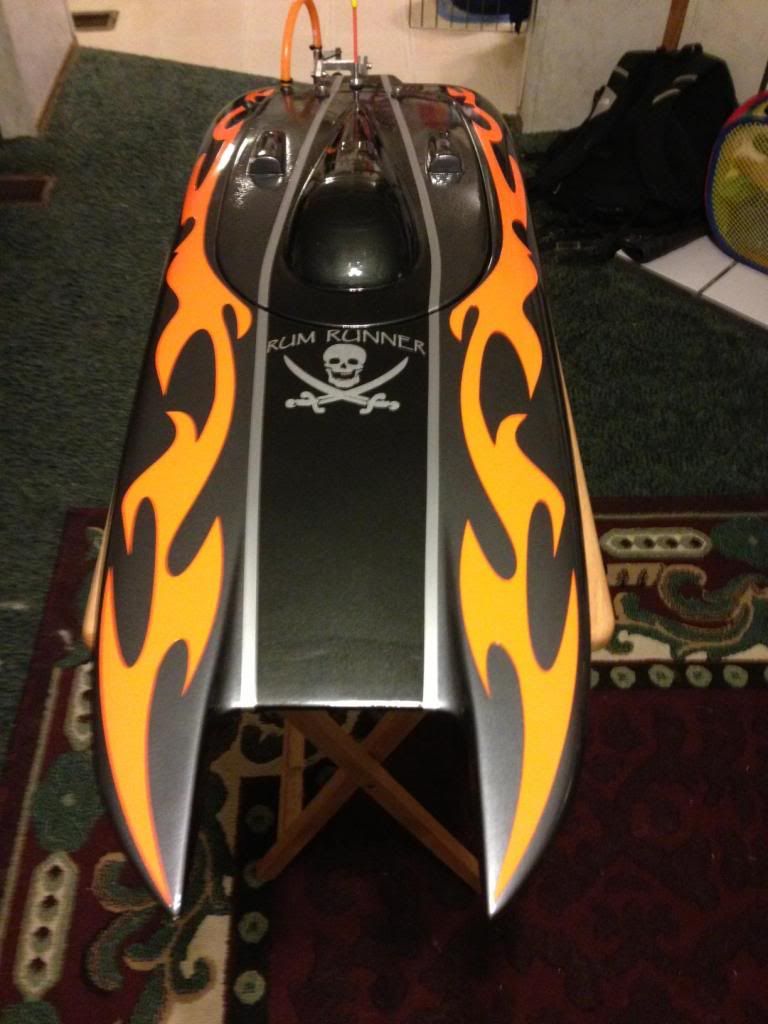
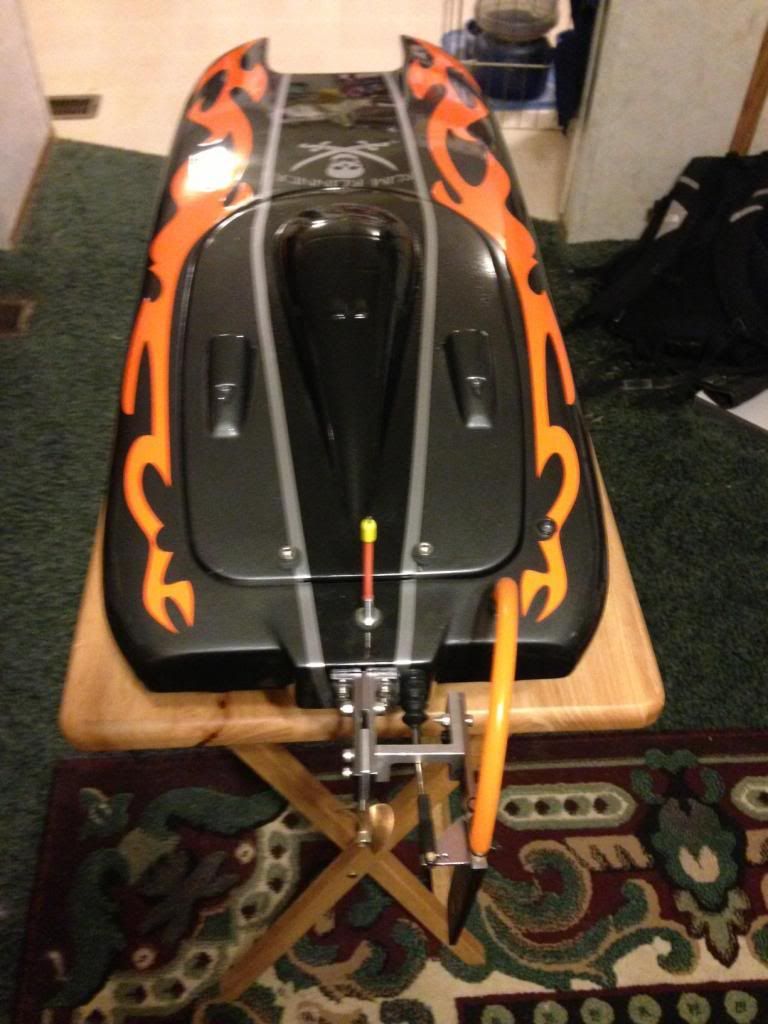
MG rebuild, repower, and paint.

Collapse
X
 
  • Time
  • Show
Clear All
new posts
  • Jason4636
    Senior Member
    • Jun 2012
    • 654

    #1

    MG rebuild, repower, and paint.

    I bought this MG off this site's for sale area. I don't know if it was cause the packing, or if it had cracks in the hull before. But when I got it, it had 2 cracks. And an indention for a 3rd crack. It went thru my head to just sell it and get out of it. When I bought the boat, the same day I placed an order with OSE an Kintec for parts for the rebuild. The parts beat the boat, then the boat was a big disappointment. When I first saw the boat, I put it back up for sale. I tried to sell it as a package, but after 2 days. I decided to rebuild it and fix the hull.

    Started out with filling in the water inlet & outlet holes, plus the antenna hole. With some cut up FG and resin mix on the inside. Then a little body filler on the outside, and sanded smooth.
    7.jpg6.jpg
    Next up was the ride pads, I had to use some more filler to build up the area. They may not be the best looking rid pads, but there better than they was.
    8.jpg9.jpg
    Next I pulled everything out of the inside of the boat. To give me more access to the inside. Took a dremal with the snake attachment and a sand paddle wheel and started Sanding down the old glue from the floor. Sanded down about 75% of the hull seam on the inside of the boat. Way to hard to get all the way up to the front of the sponsons. After the seam was sanded down, I layed some resin down, then some 2" FG tape, then on top of the tape. I put some more resin with cut up FG, lightly over the tape.
  • Jason4636
    Senior Member
    • Jun 2012
    • 654

    #2
    Then I started on the CF/Kevlar inlay on the FG hatch I bought off this site.
    2.jpg1.jpg
    Then today I did a CF/Kevlar inlay inside hull
    3.jpg4.jpg5.jpg

    And now starts all the body work and paint. Thinking of going with Orange, silver, and black for paint. Just cause of the CF/Kevlar is black and orange. But I'm going to wait on paint. Till I take it out and test it. Then I'll tear it back down and paint it.

    Power set up is
    Leo 4082 2200 Kv
    Seaking 180a
    Offset rudder with dual water pick ups and dual water outlets
    run on 4s
    x642 or m445

    Comment

    • Jason4636
      Senior Member
      • Jun 2012
      • 654

      #3
      I've got the motor in, shortened the motor to esc wires. And I've shortened the esc wire's. From the esc to motor there's about an inch of wire. I'm going to put most of the esc under the bow in front of the motor. I'm just waiting on my parts to come in before I can finish on my placement. Hopefully the order will be in Saturday so I can finish this up, and take it out and test it sunday.

      Comment

      • Jason4636
        Senior Member
        • Jun 2012
        • 654

        #4
        Well I got bored waiting on my parts to come in. So I sanded down the boat. Then primered the whole boat, and wet sanded it down with 800 grit. If I get time tomorrow, I'm gonna start painting. If not I guess I'll finish the boat Saturday.
        15.jpg14.jpg13.jpg

        Comment

        • Jason4636
          Senior Member
          • Jun 2012
          • 654

          #5
          Well now I got her built. I tried to keep everything in line down the middle of the boat. The esc is up under front deck, in front the motor. The only down fall I see to this is the batteries are so far back to get my 30%.

          Well he's the outside as it sits now, before paint.
          7.jpg9.jpg

          I think its a fairly clean install, with the esc up under the deck.
          11.jpg

          Sure is a tight fit with a Seaking 180a esc under there.
          12.jpg

          I like how the water line in and out of the esc runn under the motor.
          10.jpg

          Comment

          • Jason4636
            Senior Member
            • Jun 2012
            • 654

            #6
            I don't know if it good or bad to have the batteries that far back. Where they are in the pic, it's right at 30% CG.
            13.jpg

            Comment

            • Megabiker98
              Senior Member
              • Jan 2013
              • 253

              #7
              What motor mount r u ruining??

              Comment

              • Jason4636
                Senior Member
                • Jun 2012
                • 654

                #8
                Leo 4074 2200kv with a t-180

                Comment

                • formula v 589
                  Junior Member
                  • Sep 2012
                  • 4

                  #9
                  thats awesome man!!!!

                  Comment

                  • Jason4636
                    Senior Member
                    • Jun 2012
                    • 654

                    #10
                    Here's the paint job.27.jpg25.jpg26.jpg

                    I've got it all back together, and I was going to run it this weekend. But I'm going to be stuck at work for the next month. Working 13 1/2hr night. Not to much of the day left over to do anything but eat and sleep.

                    Comment

                    • Megabiker98
                      Senior Member
                      • Jan 2013
                      • 253

                      #11
                      What motor mount are u running?? I have a 4074 an plan to take all the wood inlay out but am unsure which mount to use! Which ones will work??
                      By the way that's a SICK paint job!!!

                      Comment

                      • Jason4636
                        Senior Member
                        • Jun 2012
                        • 654

                        #12
                        I used this one from OSE.

                        http://www.offshoreelectrics.com/pro...prod=ose-80610


                        The only down fall to this mount is that you need to build up the height. It's not near tall enough. I used a plate of CF. I cut 6 strips as long as the mount, 3 for each side. If I had to do it over, I would have just bought the mount. Then trashed the sides, or tried to sell them. And get a small plate of Carbon Fiber and cut my own out that was tall enough.

                        You might see the 3 small plates under the mount to raise it up high enough to align it with the flex,


                        I hope this helps you out.

                        Comment

                        • Megabiker98
                          Senior Member
                          • Jan 2013
                          • 253

                          #13
                          Crap, that's the one thing I'm trying to find!!! One that I don't hae to mod to make it fit! But I would most likely cut 2 new side plates!!! Would most likely be the easiest fix!!

                          Comment

                          • Jason4636
                            Senior Member
                            • Jun 2012
                            • 654

                            #14
                            Originally posted by Megabiker98 View Post
                            Crap, that's the one thing I'm trying to find!!! One that I don't hae to mod to make it fit! But I would most likely cut 2 new side plates!!! Would most likely be the easiest fix!!
                            It would be very easy to do. Just order a 2.5mm sheet from Kintec. Its only $25. Or just get you a small sheet of aluminum. As long as you have the front mount and the rear ring it would be very easy.

                            Comment

                            • Jason4636
                              Senior Member
                              • Jun 2012
                              • 654

                              #15
                              Thought I would post some pic's after it was all put back together


                              Comment

                              Working...