
Hey F1 another great job,very nice molds. you might already know this but I'm going to put it out there anyways.There are a lot of fiberglass guys that do not do small parts,and do not know this. use some aerosills (micro balloons)mixed with your resin and put it in those corners before wetting your part out and putting in your material, it will cut down on those air pockets,I have a out board cat but nitro has died off,maybe electric outboards will give it new life. I wish you lived in my area. you might ened up broke like me. But we would have a lot of boats, LOL.This cat is 50" long and ran well on 1 or 2 7.5 outboards.
-
-
Thanks Bud
Theres 4 layers in all The top is layed up with ;
Gelcoat
1 x layer of surface tissue
1 x layer of 160g twill
1 x layer of tissue
1 x layer of 160g twill
The Lower of the hull is layed the same way but the last layer is 190g 2x2 twill
The join is wet join with carbon fibre tape aswell so a nice solid join
Sorry work in grams not OZ
i weighed the hull with doing any trimming etc and came out at 1.8kg but not forgetting this is the 1st time iv ever done moulding so with more practise will get it lighter also im thinking of changing the resin aswell to vinylester which is lighter than poly but more expensive and didnt want to start with it cus of the cost incase it didnt work out
Originally posted by jcald2000 View Posthttp://s577.photobucket.com/albums/s...79/F1%20boats/
Daz from sunny EnglandComment
-
Hi bud and thanks for the compliments coming from some1 like yourself means alotOriginally posted by expresscraft View Post
Im always keen for advice when its something new to me like the moulding etc
What i did do in my corners was wet out with abit resin then added some 6mm chopped strands before adding the surface tissue on top then laying it up from there
Ill have alook for them micro balloons from my supplier and try it but to be honest only had 2 small bubbles and i think i didnt wet out enough in those couple of areas who knows but there now repaired and came out ok
My biggest thing is im not happy with the join it can be better and i know i can do better but for 1st attempt im pretty happy and i must learn from it thats the main thing to me
LOL if i lived in your area it would be easier for me thats for sure some 1 who could me properly how do the moulds LOL
Nice looking cat and pr of big outrunners mounted on OB's would be fun haha
As for been being broke i am already iv spent out on the tools and materials to learn how to mould etc now im skint but gonna keep pushing forward hopefully 1 day ill see some return hehe
All the best F1http://s577.photobucket.com/albums/s...79/F1%20boats/
Daz from sunny EnglandComment
-
You are seeing the return now in a lot of great time modeling, the strands work great where strength is needed, like in strakes from front to back, but in corners like the edges of your hatch the puddy will also help hold the material from lifting after you have rolled it out.dont sell your self sort you are a great modeler and I'm sure I could learn from you as well.when you join using the molds to hold things together. Its best to be on the short side of your trim edge and end up with a small gap to fill. if you leave to much, when you put the molds together something has to give. and it will be your part. it will push away from the support of the mold. And of course you can not see this from the outside.so when you join it you end up with a big wave in the side.again I'm just putting the info out so it's there. you probably know this bye now.I think modelers that might be reading these thread will find it useful to read about the little things that make a difference.I have been learning a lot from this site,it's very humbling to know how much I don't know.Comment
-
Thanks for all the great info guysmy youtube videos http://www.youtube.com/user/chris81983?feature=mheeComment
-
Thanks bud
understand what your saying ill give it a try for sure and try another route on the join,also while polishing up etc iv noticed alittle thin on gelcoat in areas so need to pay more attention to this but for me its the best way to learn is by doing it and listening to what the more experienced guys advice like yourself
This is what forums are about helping others and sharing info while at the same time it should be fun and have a laugh with it LOL
@Chris great to see you still following budOriginally posted by expresscraft View Post
Really busy today setting the cat hoping to have it on the water later today/tomorrow so gonna crack on and will post some updated pics of progress laters
http://s577.photobucket.com/albums/s...79/F1%20boats/
Daz from sunny EnglandComment
-
when you spray your gel coat, try to spray the harder to reach areas first, and corners, you want 17 mills, and you should have a nice even orange peel look.if you spray your gel to thick, it will look great, but it will crack,that's why you want to do corners first,so you don't get to much coverage on the easy to spray areas.If your gel is to thin, you will get gatoring.This happens when the resin is drying and shrinking.it softens the gel and pulls it into the drying resin and away from the mold.I think for model boats with a external seem that needs to be finished anyway, This is the lesser of the 2 evil's, as it's a very easy fix. Thick gel is just a bad part.And now I will be watching your thread and learning from you. because I am new to electric.And to this site, But I keyboard know you anyways,lol. so I'm going to ask you all the stupid questions I don't know the answers to,and put you on the spot.Comment
-
LOL im no expert myself and still learning LOL
I dont spray the gelcoat yet as i havnt been able to get gelcoat spray gun so i have to brush it on which is not as easy as i thought it would be haha but the gun is next on my list now iv got a big enough compressor to run 1
What you said is how i used to spray the cars do all the egdes and corners 1st lightly before starting on the big panels as these areas is where you cant get sufficient paint on them so understand that
Your a trooper and appreciate your input & help :)
IF i can help i will more than happy too but theres alot more experienced guys on here
http://s577.photobucket.com/albums/s...79/F1%20boats/
Daz from sunny EnglandComment
-
Well guys here it is all finished and ready to go
Couple of areas not happy with but the hull is nice and strong yet seems a nice weight with everything in
Not my ususal style but thought id throw some vinyl on that i got left over from other projects just to give abit off a look but overall for a 1st looks pretty good
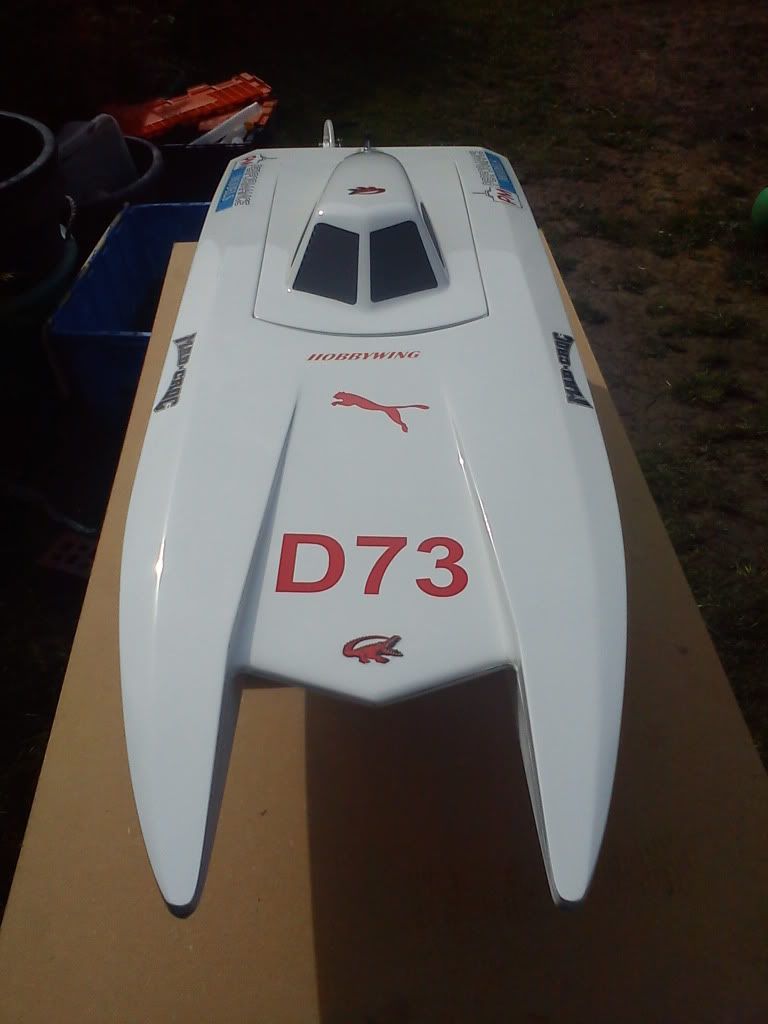
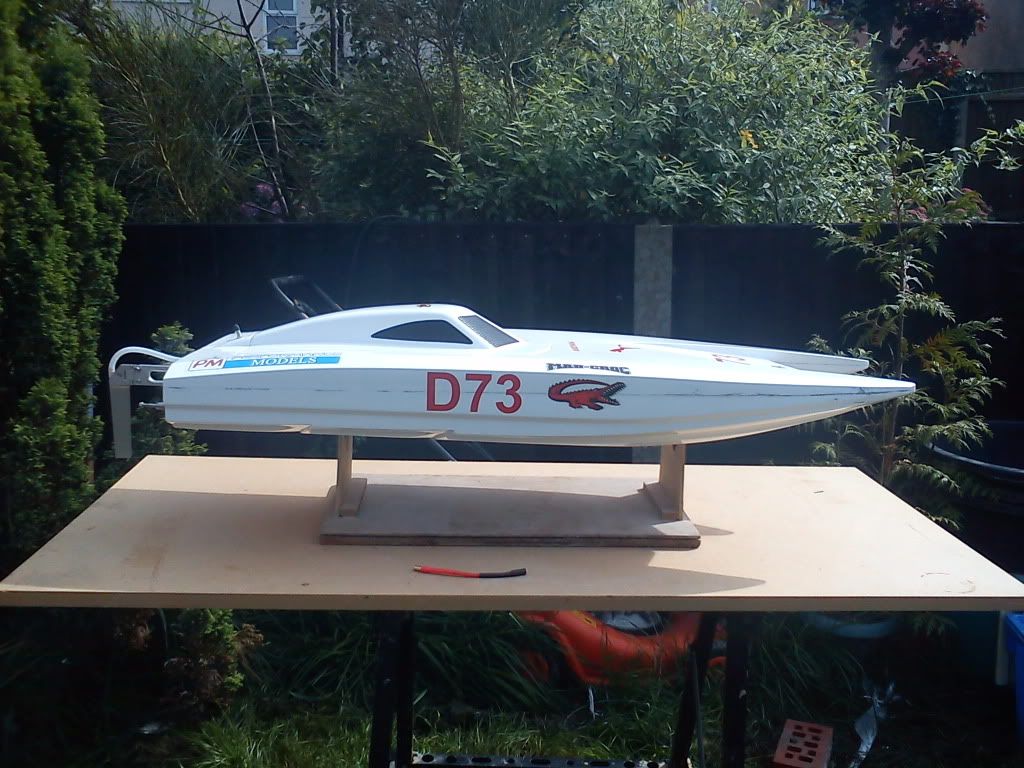
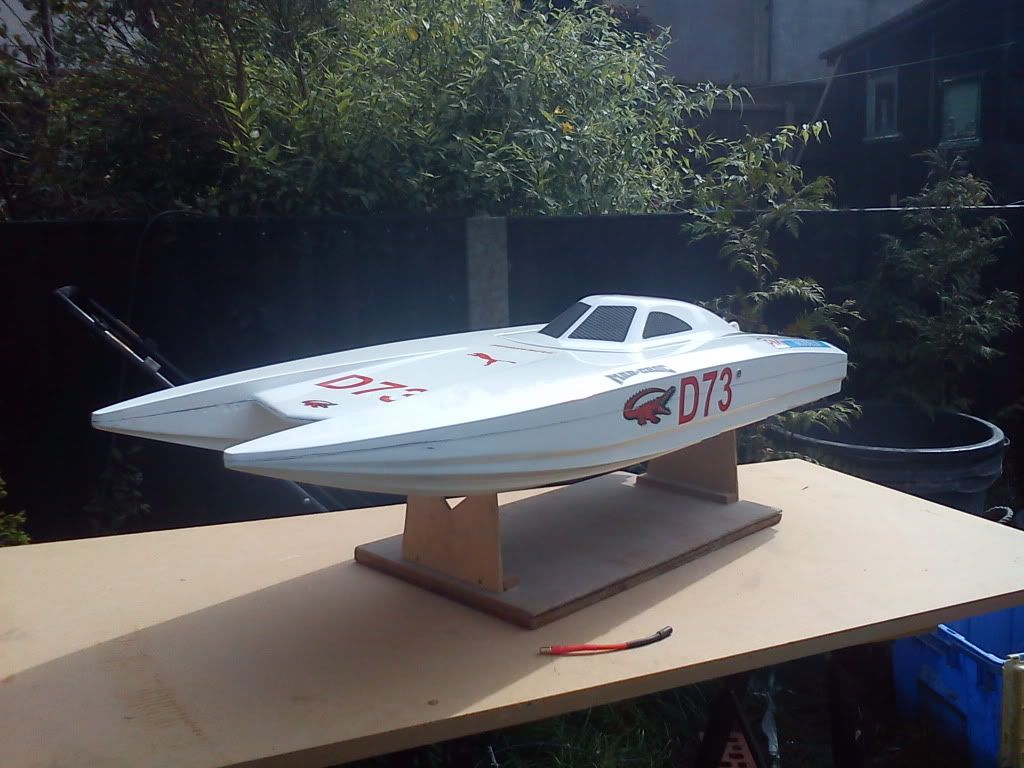
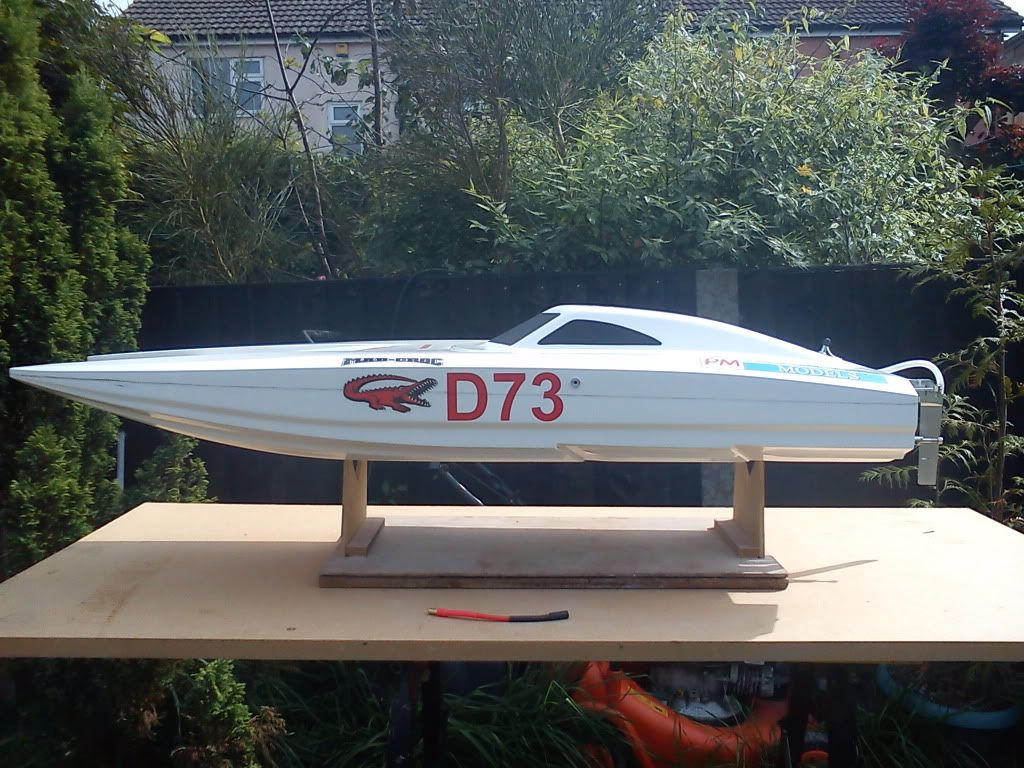

Just charging the batts then off for a maiden runhttp://s577.photobucket.com/albums/s...79/F1%20boats/
Daz from sunny EnglandComment
-
Nice one looks great buddy, Mike will appreciate the advertising! I remember spraying a 40inch mono I had, such a pain with prep! Hope you have a great run, and you can get a vid.
Everything that has a beginning, has an End
I remember spraying a 40inch mono I had, such a pain with prep! Hope you have a great run, and you can get a vid.
Everything that has a beginning, has an End
Comment
-
Thanks Drax yeah will get some vids of running just waiting for the batts to fin ish charging
http://s577.photobucket.com/albums/s...79/F1%20boats/
ish charging
http://s577.photobucket.com/albums/s...79/F1%20boats/
Daz from sunny EnglandComment
-
What batts you running?Originally posted by F1 madness View PostEverything that has a beginning, has an EndComment
-
ill be running 2 x 3s,5000mah 30c-50c in series but will be running conservative prop while testing and setting up but these batts have proved well for me i am looking at uping my batts when got more funds available :)http://s577.photobucket.com/albums/s...79/F1%20boats/
Daz from sunny EnglandComment
-
The boat looks great F1,it looks kinda stocky which is great for a single setup/look. Happy boating!Comment
-
Finally got it on the water and must say im pleased with it
BUT got some ESC issues also dont seem to get full throttle but think maybe a setting on the TX so ill have a play around with it but heres some vids for starters
hehe
More to come yet
Just hope i sort the issues also need to order a new prop and go up in sizehttp://s577.photobucket.com/albums/s...79/F1%20boats/
Daz from sunny EnglandComment


Comment