-
I wish i had an answer for ya millzee, but i honestly dont........................ -
Thanks guy's, offer me some advise will ya, should I run 1/4" stuffing tube or because of the extra bends (s-bend), should I run 9/32" and just reduce it at both the strut and the coupler??Leave a comment:
-
cool, thanks for the tip, easy fix. What about the stuffing tubes??Leave a comment:
-
Going back over the pics i noticed you have the motor plumbing backwards.....................if the ESC is getting cooled first and then going to the motor, the input flow line should be at the bottom of the motor and water flow output should be at the top.
Leave a comment:
-
yeah mate, I'm going to get stuck into the rest of the electronics tomorrow night, I've got caught up tonight installing a big block 1406 5700kv castle into my merv. I will add extra caps, do the wire tidying and what not, then I'll have a crack at the stuffing tubes. I'm planning on using 1/4" but do you think maybe 9/32" would be better allowing more clearance for the bends and then just reduce it at both the coupler and strut??Leave a comment:
-
WOW! Nice build here millzee...............those twin 1717's will get that baby movin' for sure! You addin' extra caps to the other T180 too?
I shortened my wires which is ok according to Castle................i lopped about 5 inches off...........less amp loss/heat.Leave a comment:
-
My flex shafts finally arrived today so I can move forward with the build, now I'll have to figure out how to bend an s-bend stuffing tube and how to set up the strut. I'm thinking that I'll use 1/4" brass and run from the coupler, through the hull and then just into the strut enough so I can install the brass bushing. Again, any advice on this subject would be appreciated.Leave a comment:
-
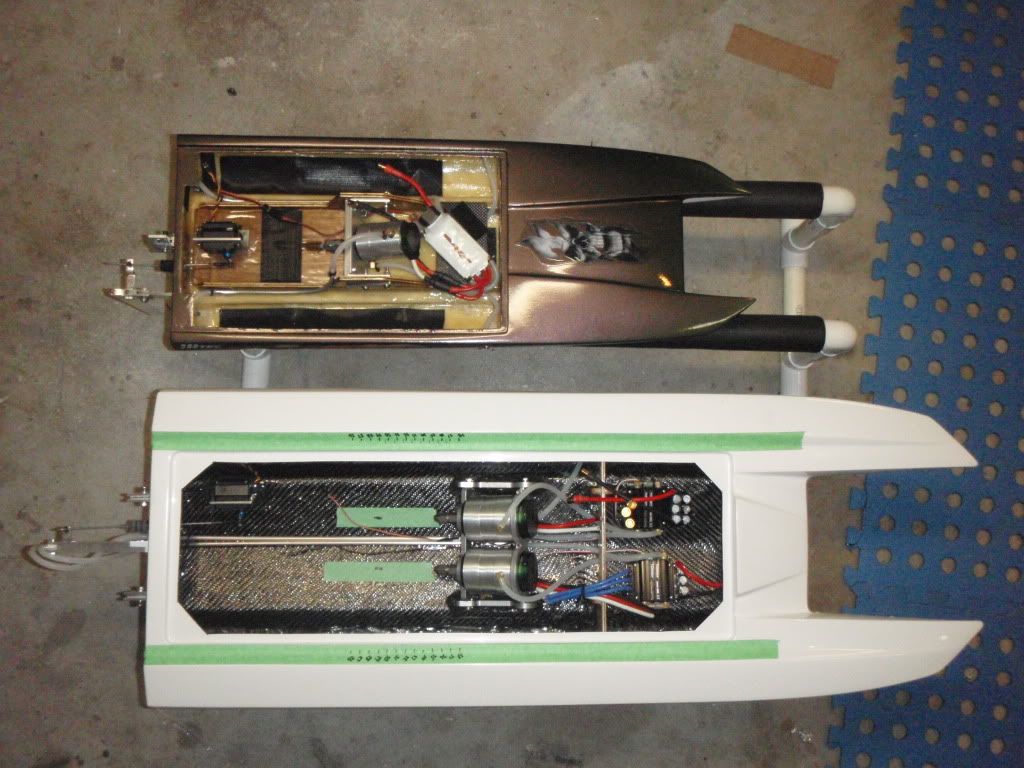
Since then I've now started work on the electronics, I'm using the T180's and have borrowed one of choppers mods, it make them both fit on the tunnel nicely, thanks chopper. I've added three extra caps and 8mm bullet connectors to one of the esc's and I'm using M3 dual lock velcro to hold them in place, thats some strong stuff, the only negative I can find with that stuff is getting it to unlocked. For battery holds I think I'll run with velcro in the sponsons and pool noodles on top, I was thinking at one point to make up a leaver brace/latch that could push across from the floor of the tunnel and over the batteries but I'm thinking that might be a little overkill. Now all I can do is finish off the esc's, get it all calibrated and bench tested and wait, I don't want to install the stuffing tubes until I have the flexs. Here's a few pic's of the esc and the deadlock I'm in.
P.S. Any advise on bending an s-bend stuffing tube would be appreciated!!!!!

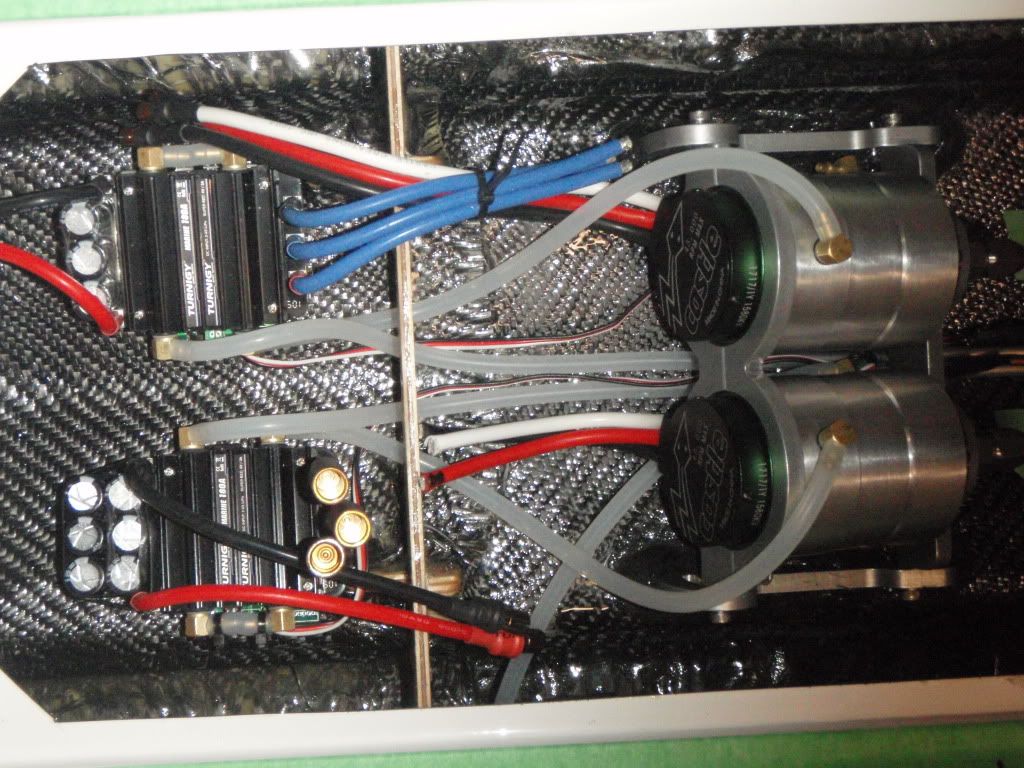

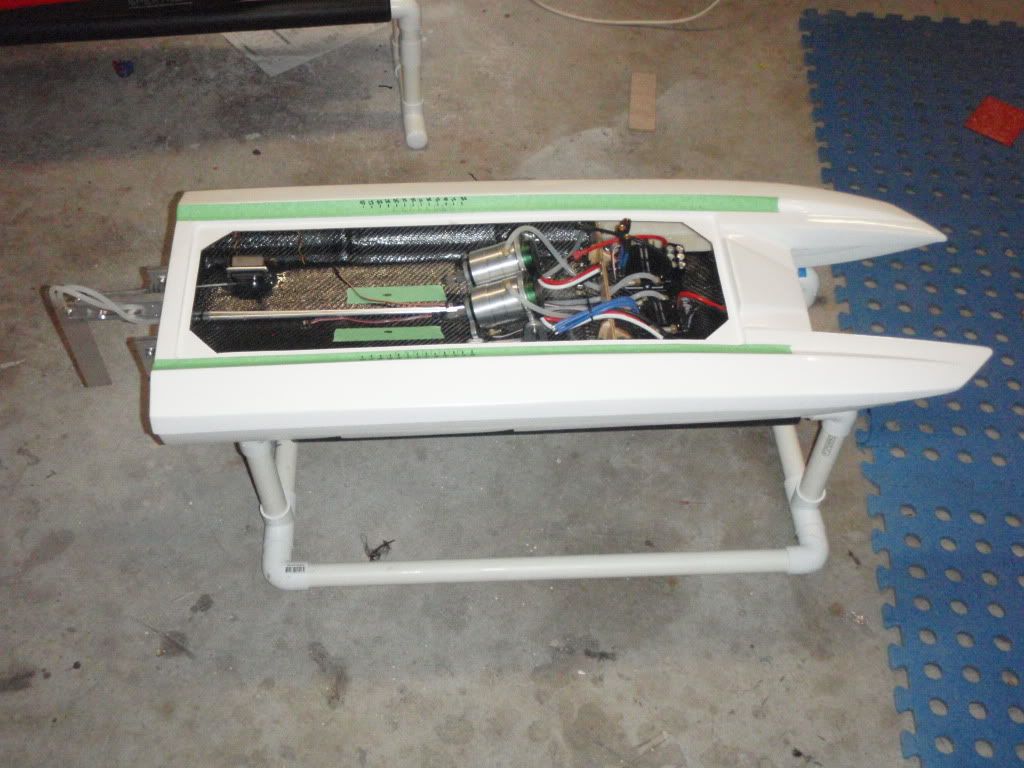

Leave a comment:
-
As you could see from those pic's, another week or so past waiting for the flex's and I figured I'd mount the rudder servo and get that all fitted. I made a servo mount out of 50x50x3mm aluminium and then epoxied it in the same way I did the motor mount.


Leave a comment:
-
I then proceeded mounting the hardware, after a hours of reading I asked a few questions in this thread http://forums.offshoreelectrics.com/...ose&highlight=
and come up with the way to mount the struts. After mounting the harware I looked into my water cooling options. I have a few under hull pick ups as well as the dual pick up rudder and was thinking to run a seperate line to each motor and esc but I figure I'll just use the rudder pick ups and run one line to each esc then through the each motor and out of the hull. If I find the temps a little high, I'll always be able to add the under hull's at a later date as I'm not going to rush in painting this boat untill it's running great on the water.
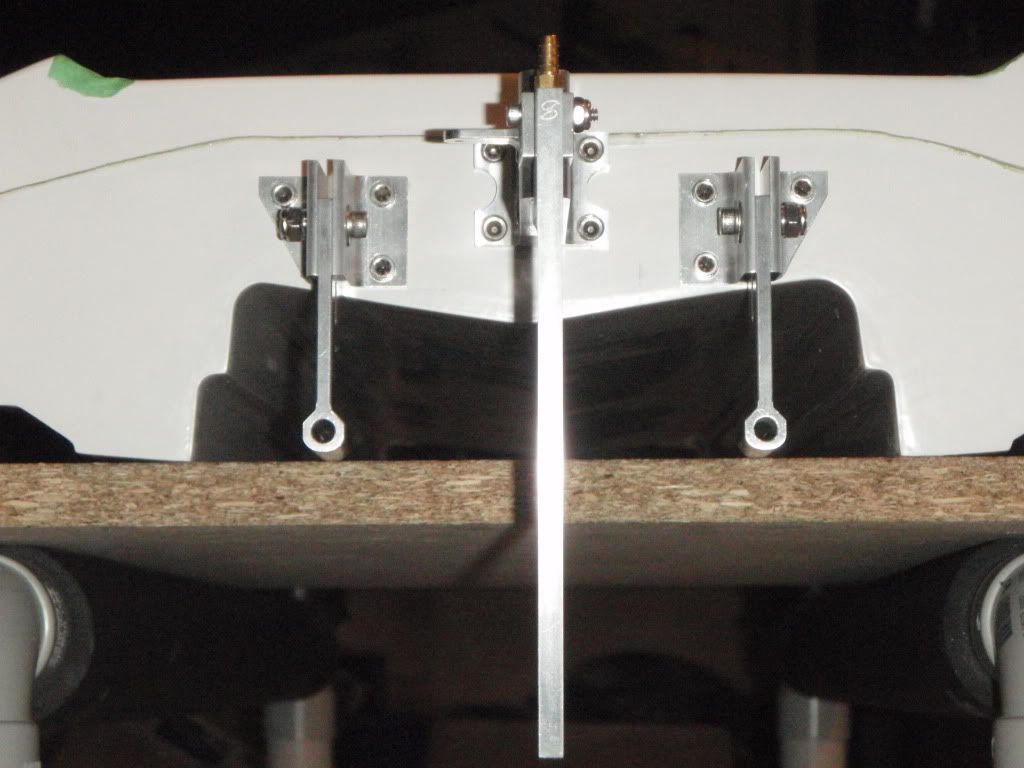
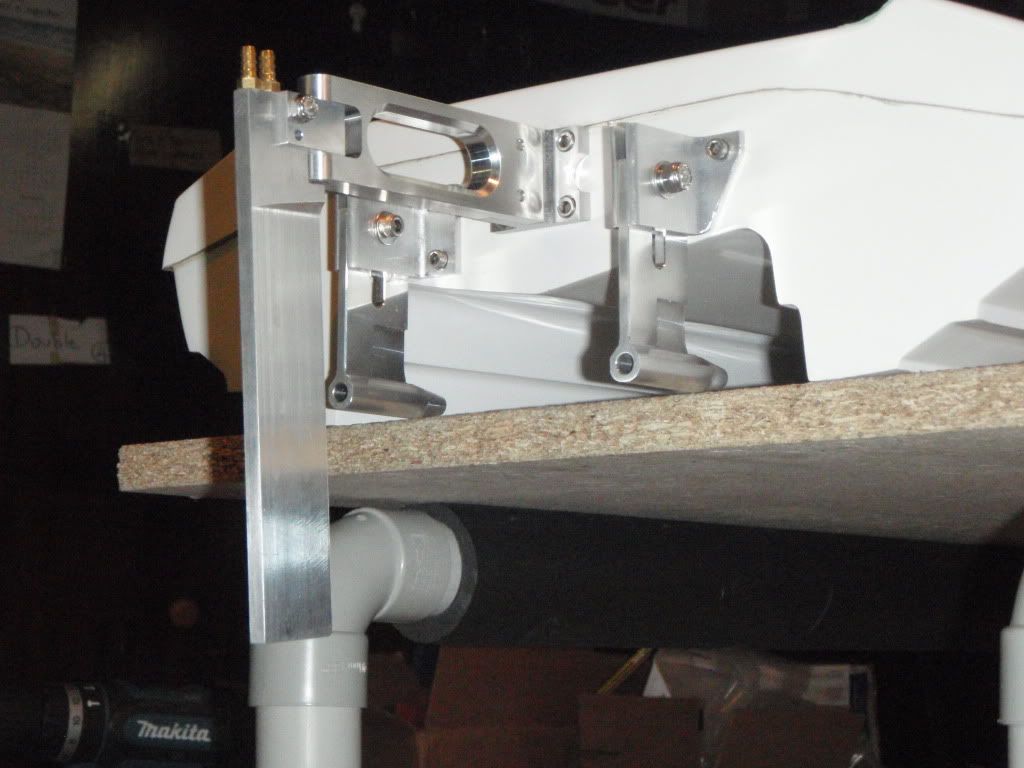
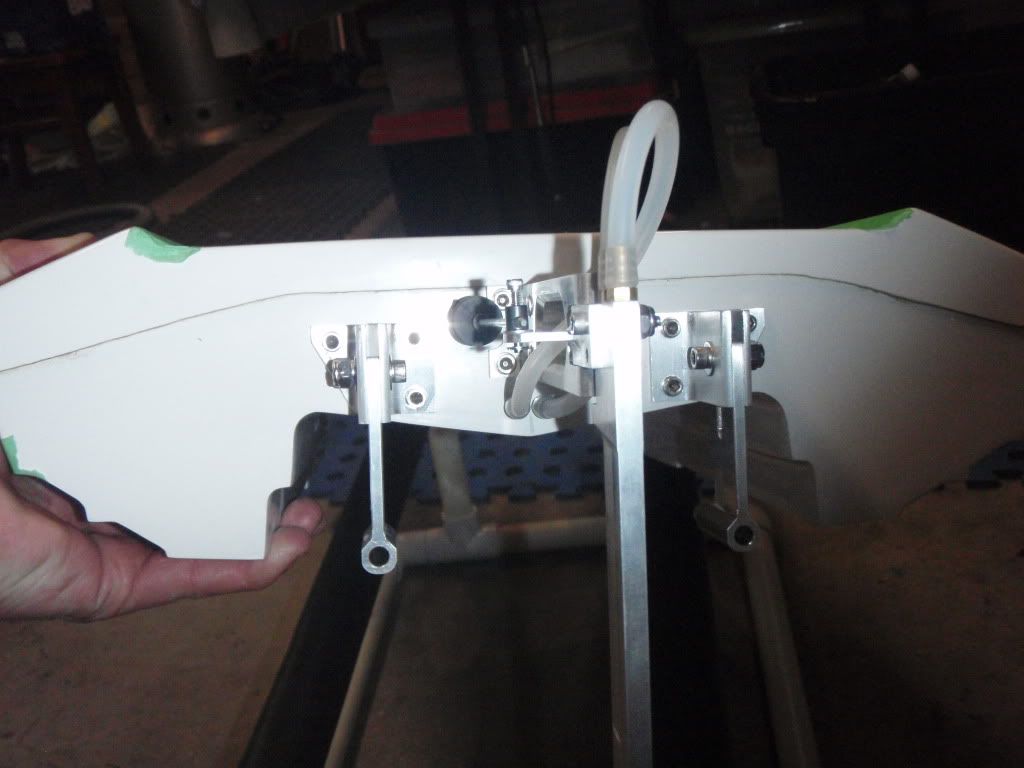


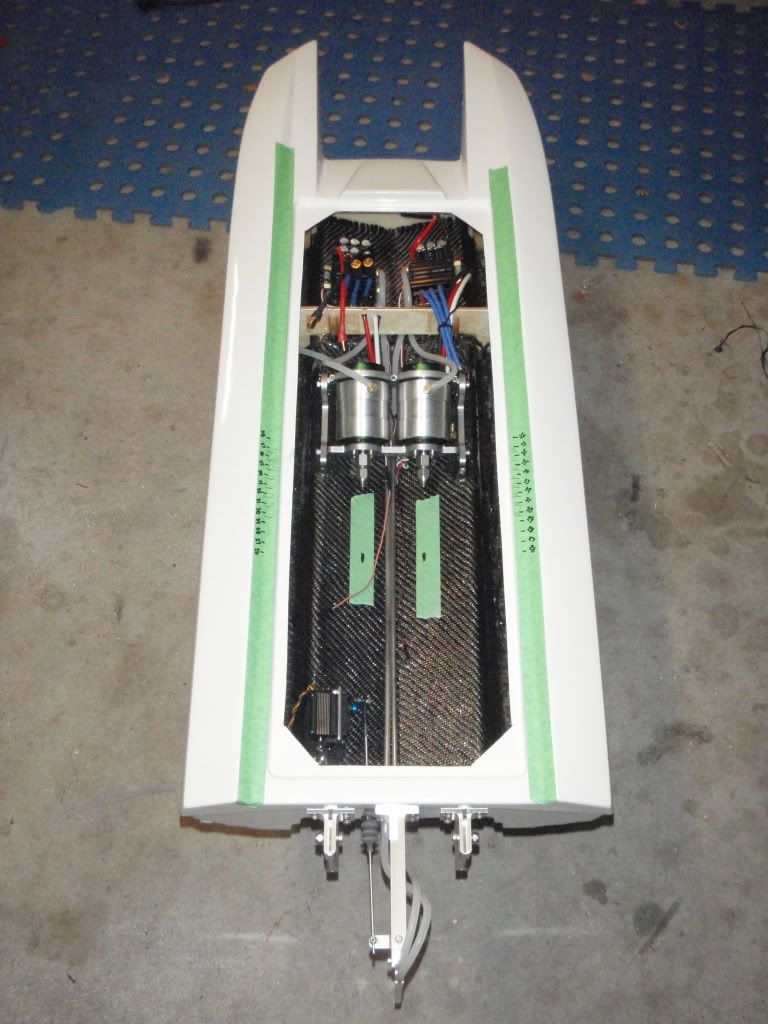
Leave a comment:
-
I left the build for a while as I had also got the Mean Machine at the same time and I figured I'd rather get a little practice with a cheap cat build before I sunk my teeth into this one and I wanted to start the build with everything I need and I still need the flex shafts but I'm now sick of waiting for them so I'm into it and I've laid some heavy carbon cloth covering the inside of the hull from above the join on one side to across and above the other, as I was doing this I molded the cloth into the corners and up the transom, then I put another two layers across the transom. Then it was time for me to figure out the layout I was going to use, after a night or two reading post's on here and moving things around I decided I'd install the motor mount. I'm using a twin motor mount made by James Williams, he did a terrific job but I had to figue out how to mount it without adding any extra height as the mount is so wide that when the motors are at full tilt, the bolts at the top of the rear support touch the hatch right at the edges of the rise in the hatch. I decided to drill holes across the bottom of each side of the mount, then I cut left over 4-40 push rod into small lengths long enough to protrude out each side and ca glued them into place in every second hole to act as anchor points. I then mixed up some 30 minute epoxy with carbon fibre that was all the loose threads that I mulled up with scissors and fill the remaining holes in the bottom of the mount, put it in place and then pushed the carbon paste along the bottoms of the mount covering the rods. It's not the prettiest job I seen but I can lift the hull by the mount.


Leave a comment:




Leave a comment: